
I always wanted a good sturdy laundry basket for my new home. The market is flooded with so much of plastic stuff and I didn't want to dump my home with plastics.Wooden furniture's are very costly in our place. To make it more cost effective, yet strongly built, this weekend I tried to make a wooden laundry hamper at home. As usual my gorgeous husband was very helpful in buying the materials and assembling the hamper.
Things needed:
1. Packing wood bars - 2.5 Ft length X 8 pieces; 18 inch length X 11 pieces;
2. 2" nails, 1" nails and 1/2" nails - as required
3. Sand paper
4. Wood polish
5. Clear or stained varnish
6. Hammer
7. Small handy hacksaw
8. Wood glue
Where to buy:
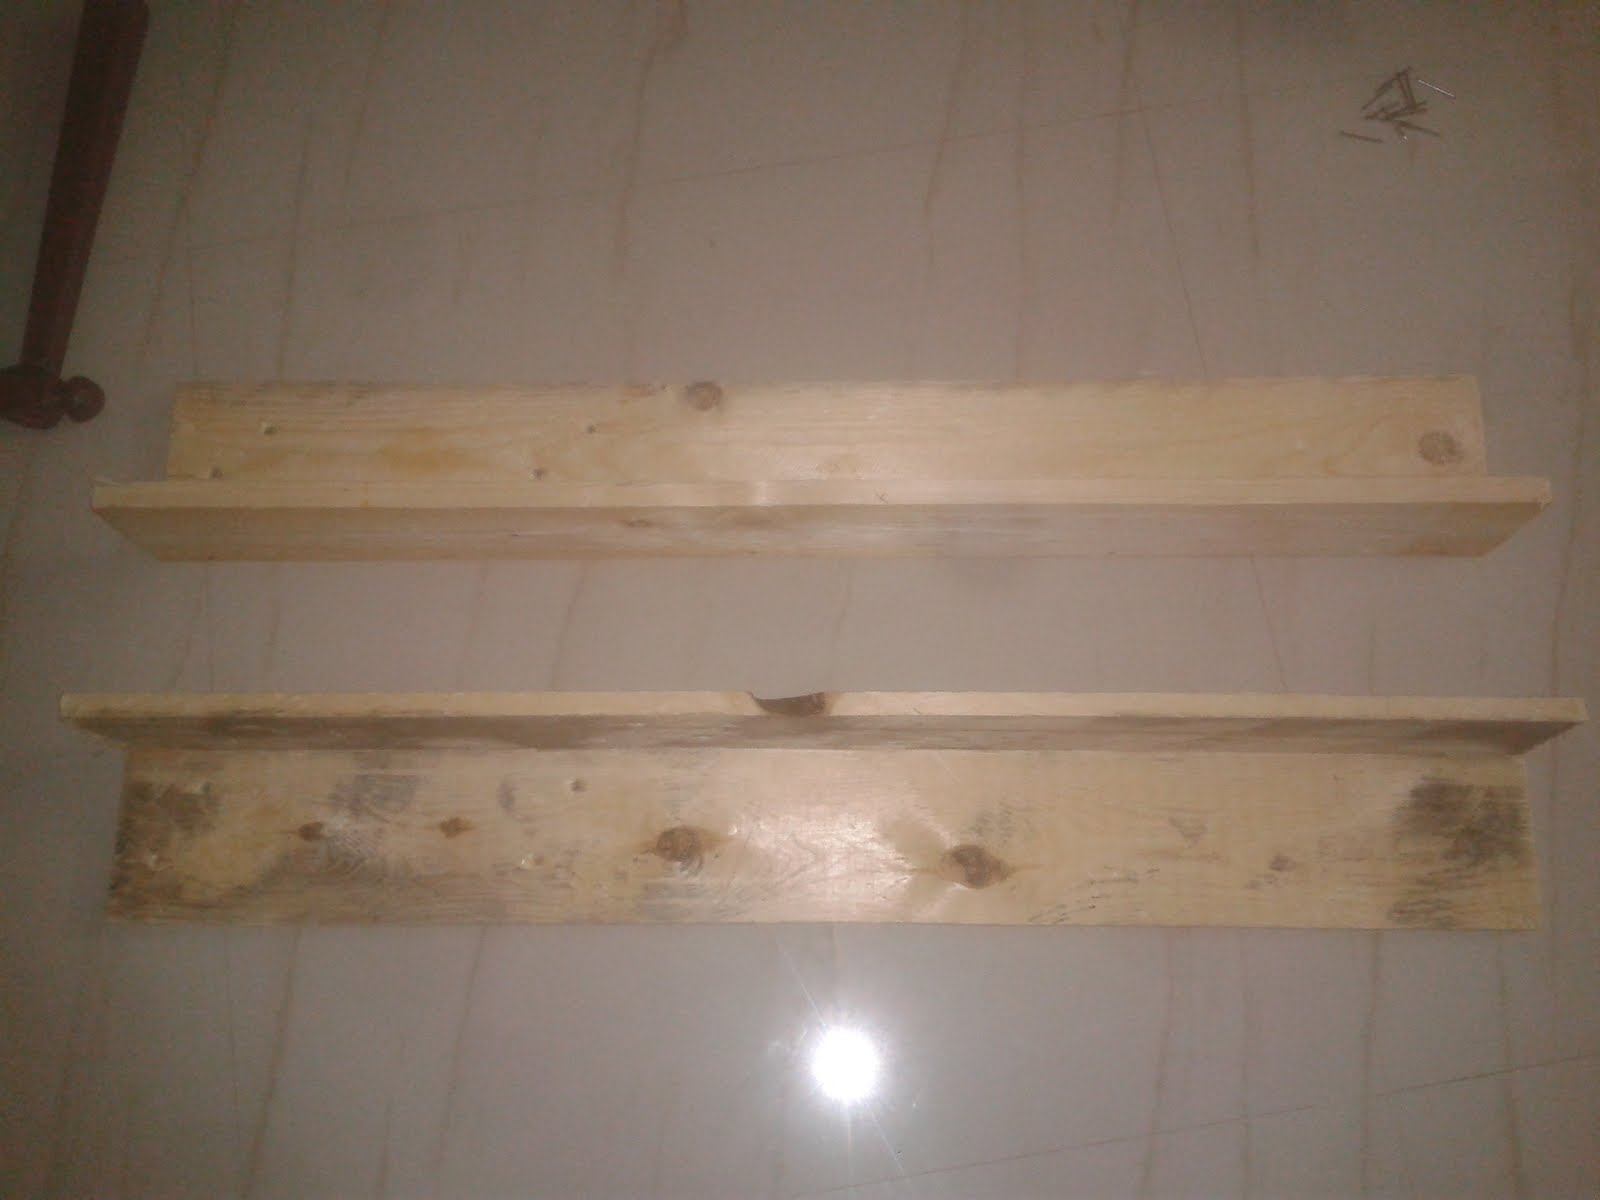
To be more cost effective, I have choosen packing wood for this project. You can use either fresh wood or used wood like i did. The used packing woods are the ones which are disassembled from the wooden pallets used for packing and transporting of goods. In chennai, the entire strech of road between Ashok nagar police station and Lakshman sruthi signal is filled with shops selling used pallet woods. One can also find shops selling other timber varieties. I got my measurement ready before i went to the shop for wood. We need to be careful in picking our wood without stains, holes and with less nail marks. These woods are sold @ Rs 30 / Kg. We picked up our wood bars and asked them to cut the bars to the above dimensions. The wood was weighing 6 Kgs and costed us Rs. 180. Here is how the wood looks like.

The rest of the things can easily be obtained from hardware shops.
Lets get started:
Take two 2.5 ft wood bars and nail them together as shown in the picture. Dont forget to apply wood glue before you nail 2 wooden pieces (I forgot this while doing)
Do as above with the remaining 6 bars. At the end you should be having 4 'V' shaped bars. These 4 pieces will be the support pillars. Form a square frame with 4 pieces of 18" length. Close the center gap with 3 pieces of 18" length as shown in the picture below.


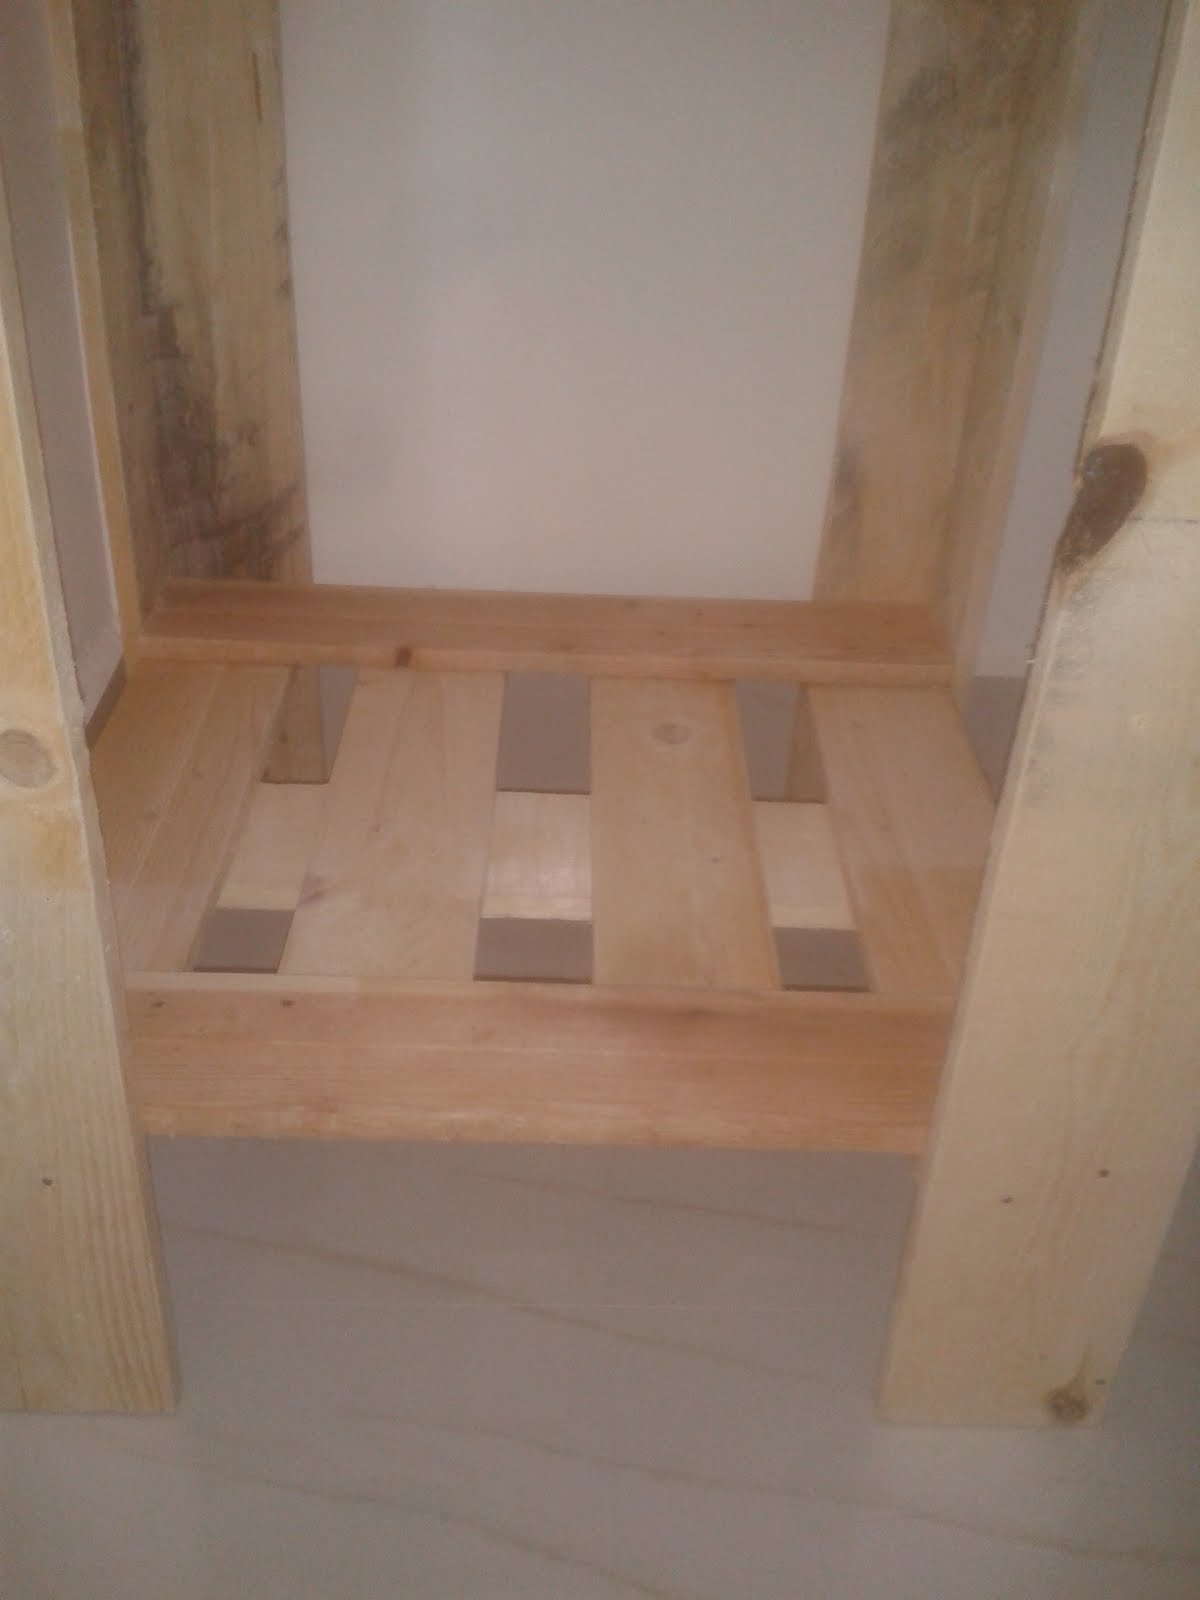
The upper portion which is clean will look like


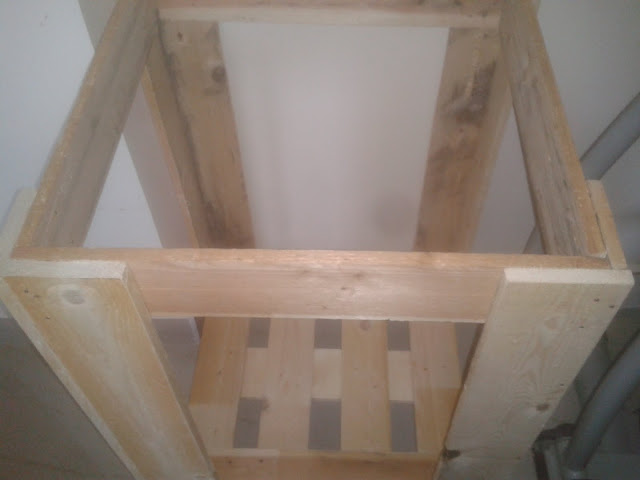
This will be the bottom cover portion of the hamper which holds the laundry load. 5" is marked on each of the four V shaped pieces which we made earlier. At this marked point the above bottom piece is nailed to the V shaped pillar pieces. At the end, this 5" gap which we left will be the ground clearance space. The remaining 4 pieces of 18" length is nailed to the V shaped pillar pieces on the top. Please note that we need to reduce the length of the 18" piece by 2 X width of the wooden bar for 2 pieces. For me the width of each bar was 1cm, so I had to reduce 2cm from each of the two 18" piece using a hacksaw. Follow the below pictures to assemble the rest of the project.


Assemble and nail the wood pieces slowly and the half done laundry hamper will look like
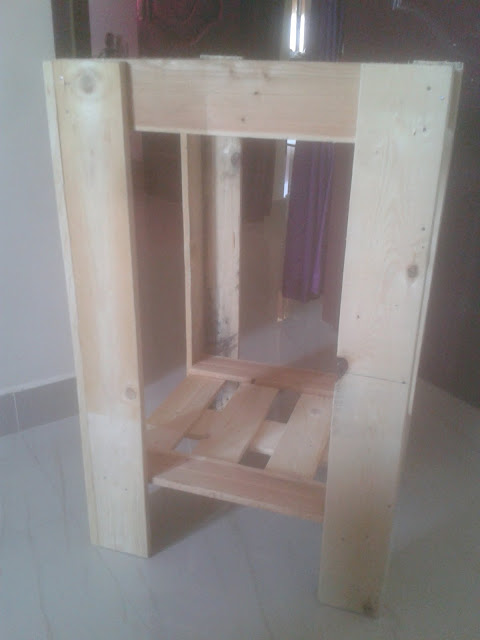
You can either sand the individual wood pieces and then proceed to assemble or assemble the bars till this level and then sand it. Don't hurt yourself while nailing and cover your face while sanding, applying wood polish and varnish.
The completion of this laundry hamper will be continued in the next post as I have done only till stage. The sides can be covered by anything like wood sticks, coir rope, cotton rope, nylon rope, net or nylon straps. I'm planning to use nylon straps to cover the sides.
No comments:
Post a Comment